Photo Galleries and Information ______________________________________________________________
| Chatter News | Vertebrae Lodge | Solitude Lodge | Chatter Creek Cat Skiing | Great Links |
| Building Site | Chatter Road | Sawmill | Foundations | Log Construction | Trusses and Roof |
| Interior Construction | Outdoor Furnace | Summer Crew | | Mountain Lodge Construction

Thursday, September 02, 2004

Roof Construction for Vertebrae Lodge

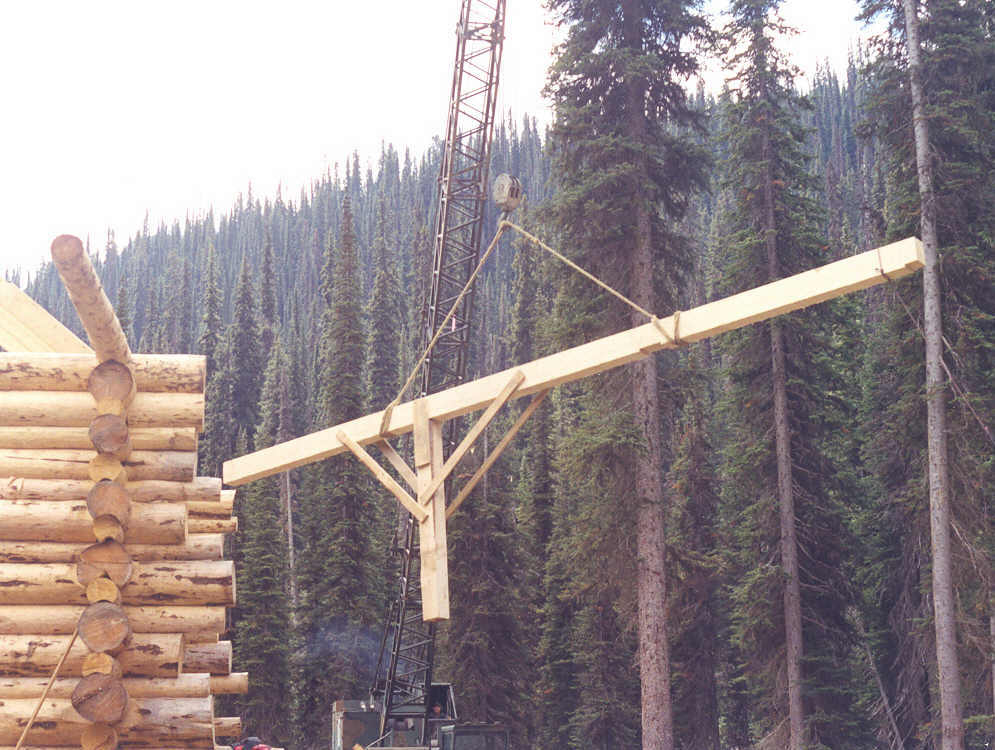
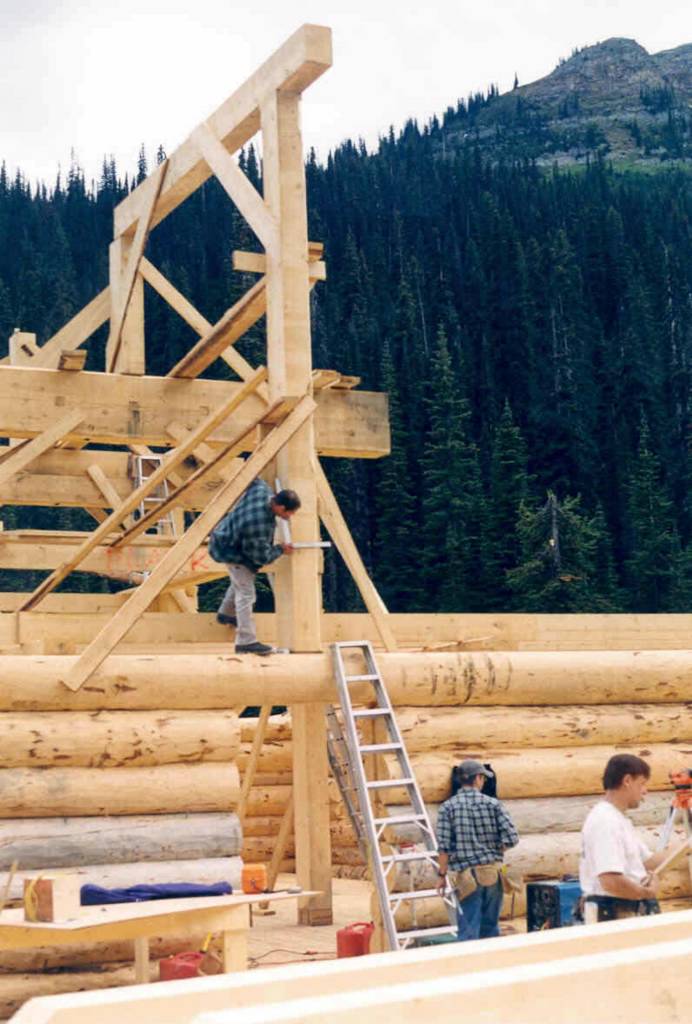
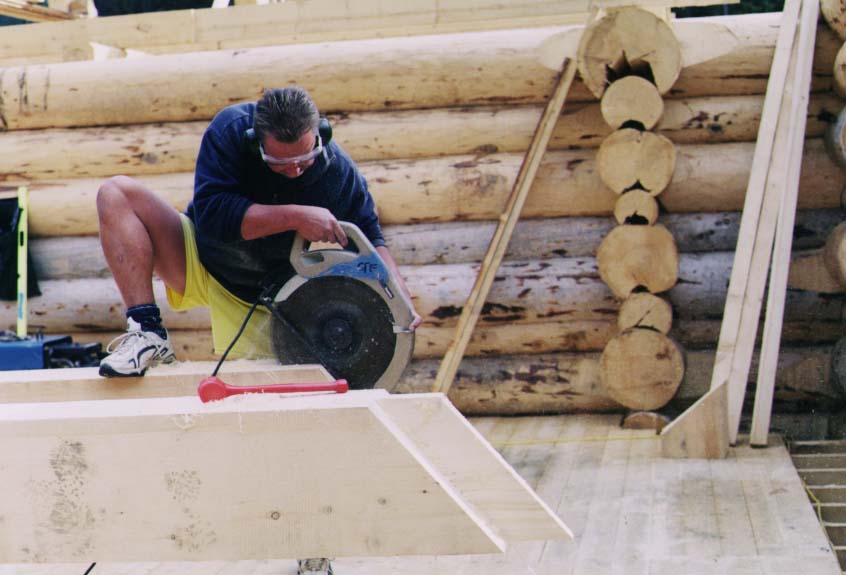
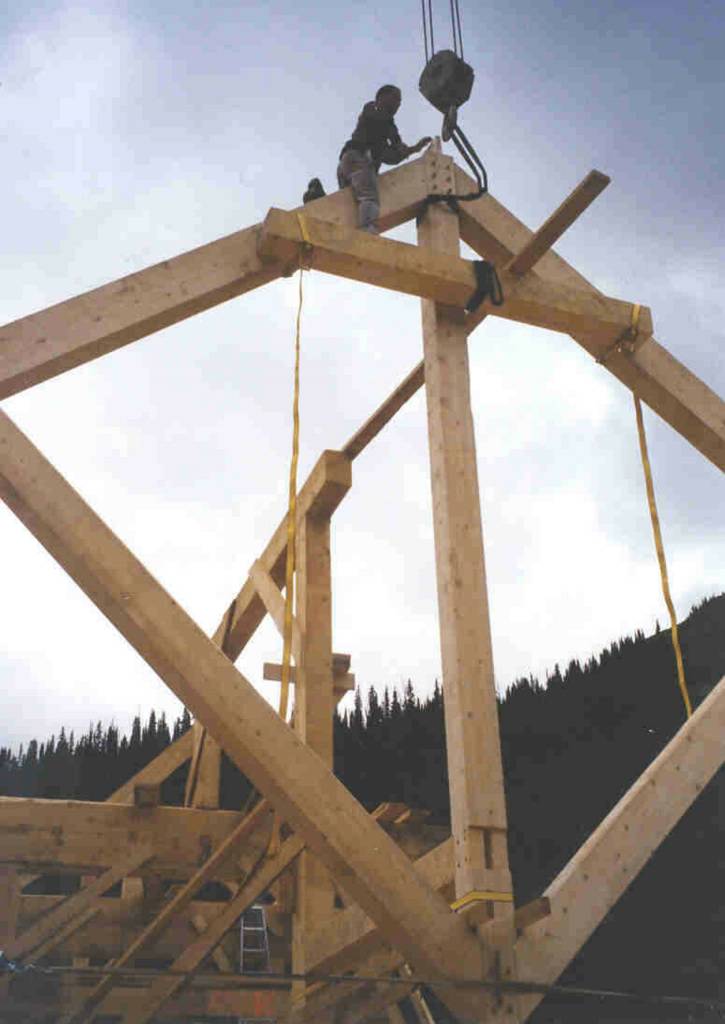
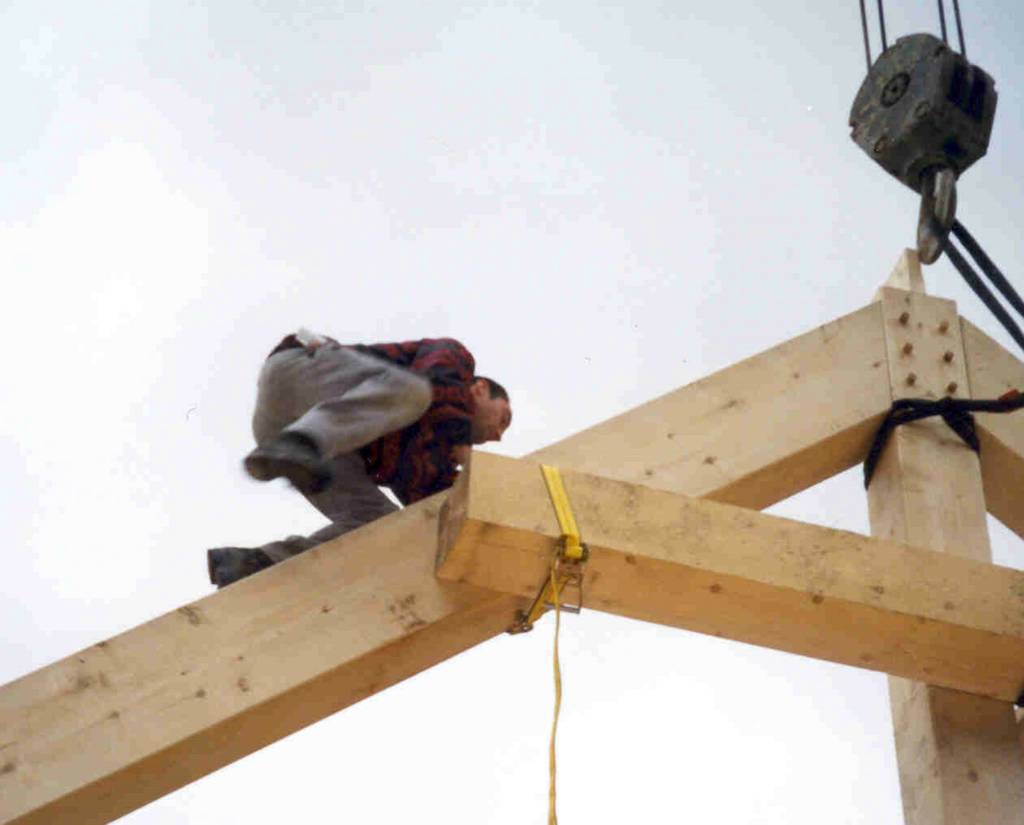
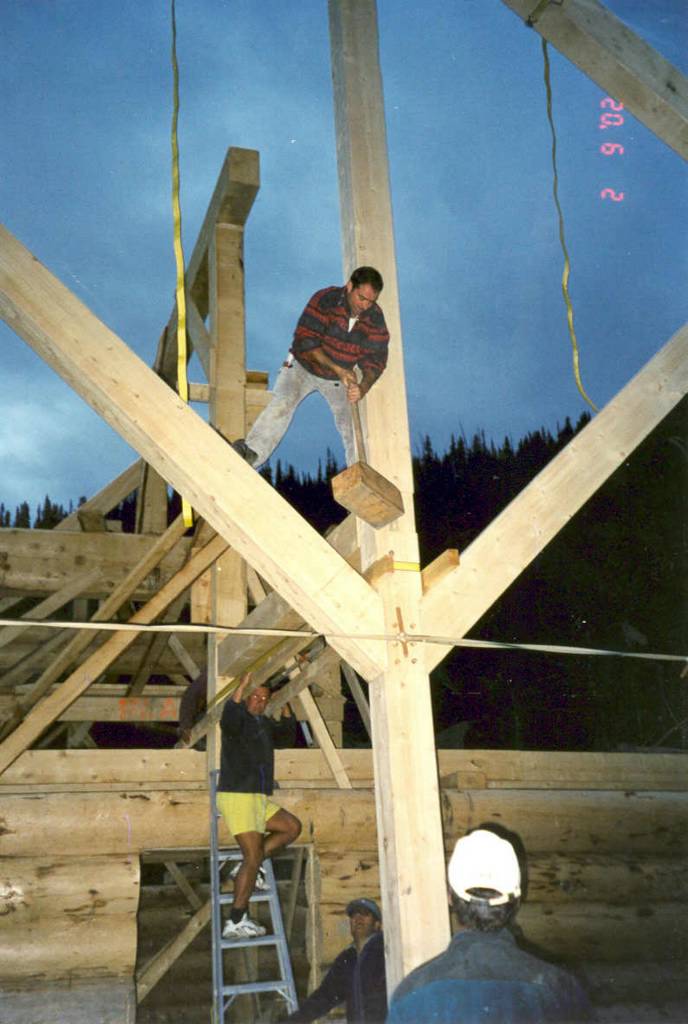
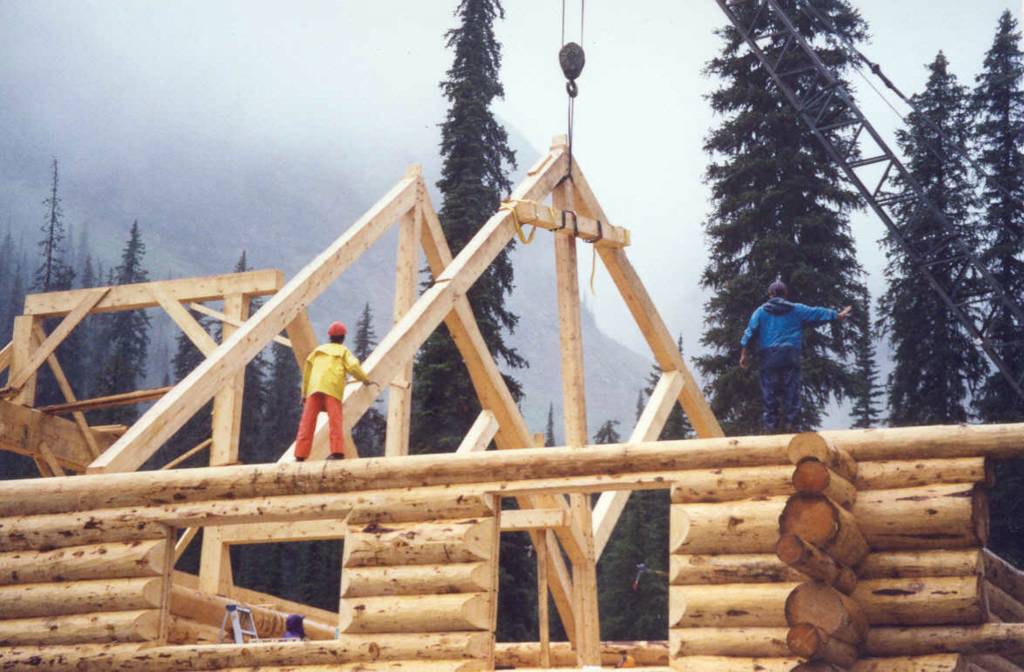
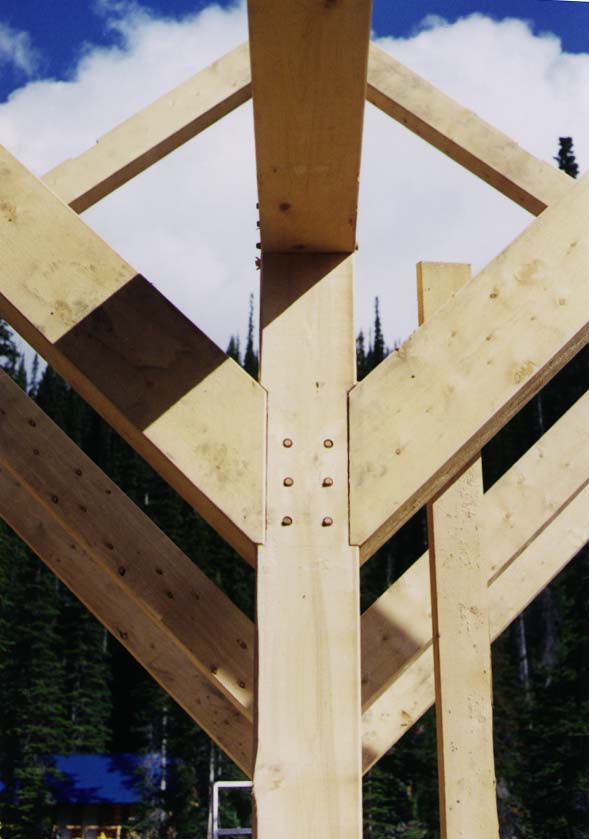
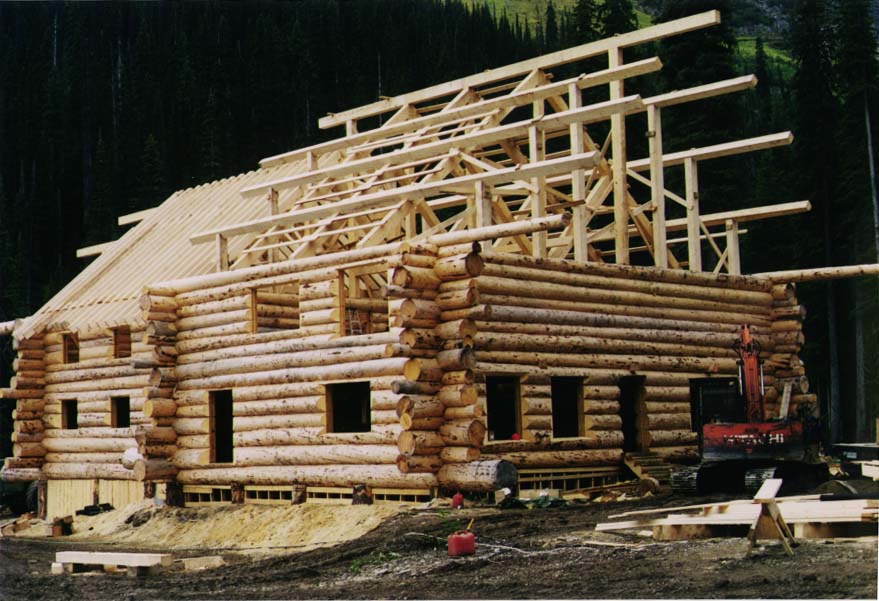
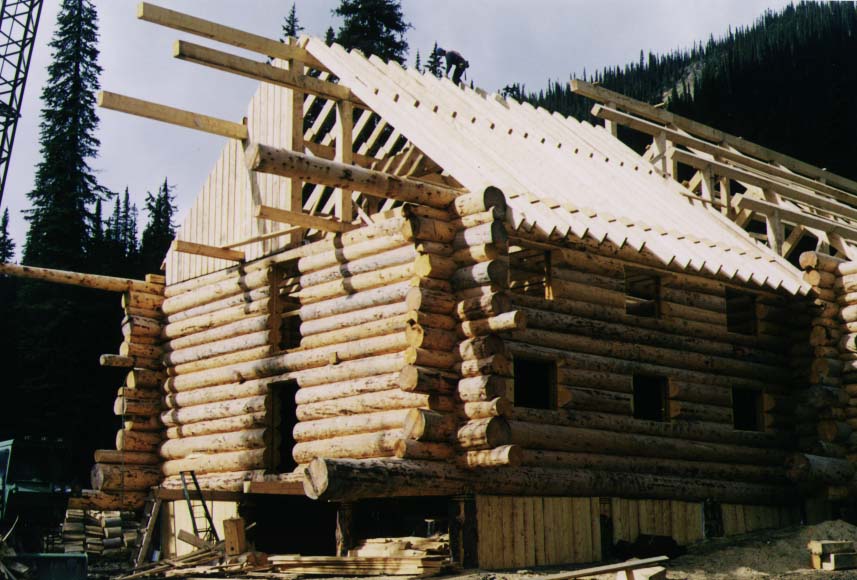
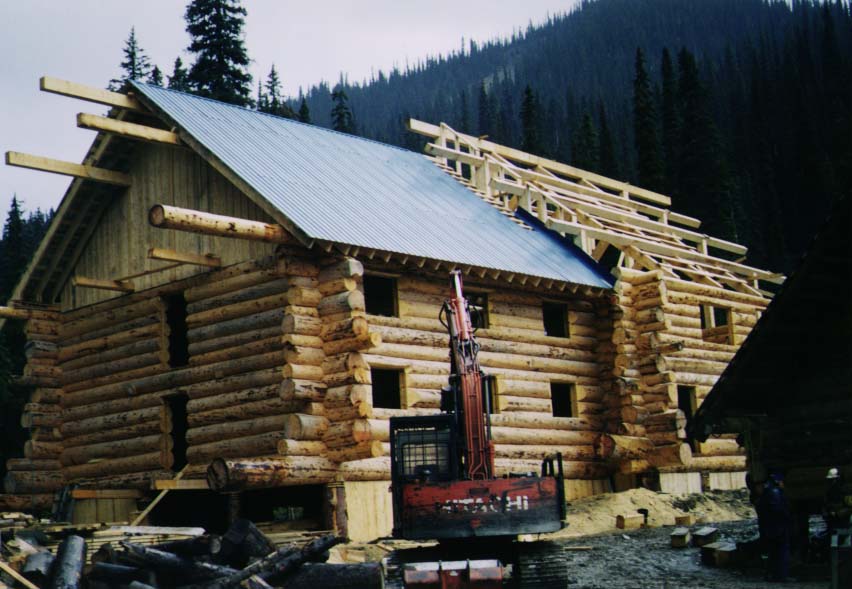
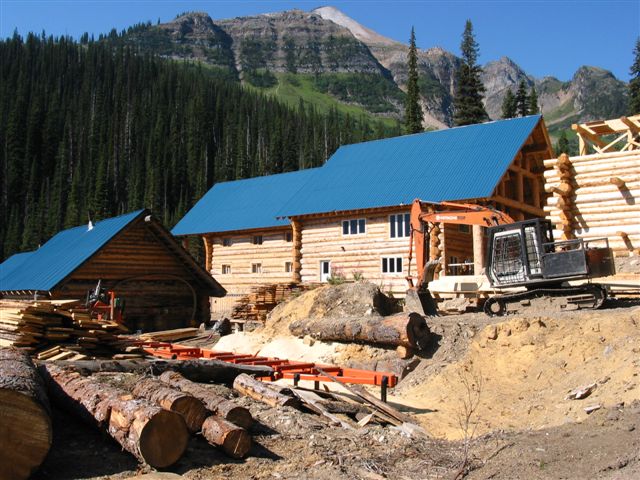
The two wings of Vertebrae Lodge have very different roof designs. Roof support in the bedroom wing is distributed between the walls of central hallways. The cathedral ceiling of the main roof is supported by a truss system with central posts. The span is large and the roof loads are very heavy. The Chatter team could deal with the bedroom roof, but the truss design for the main roof required outside help.

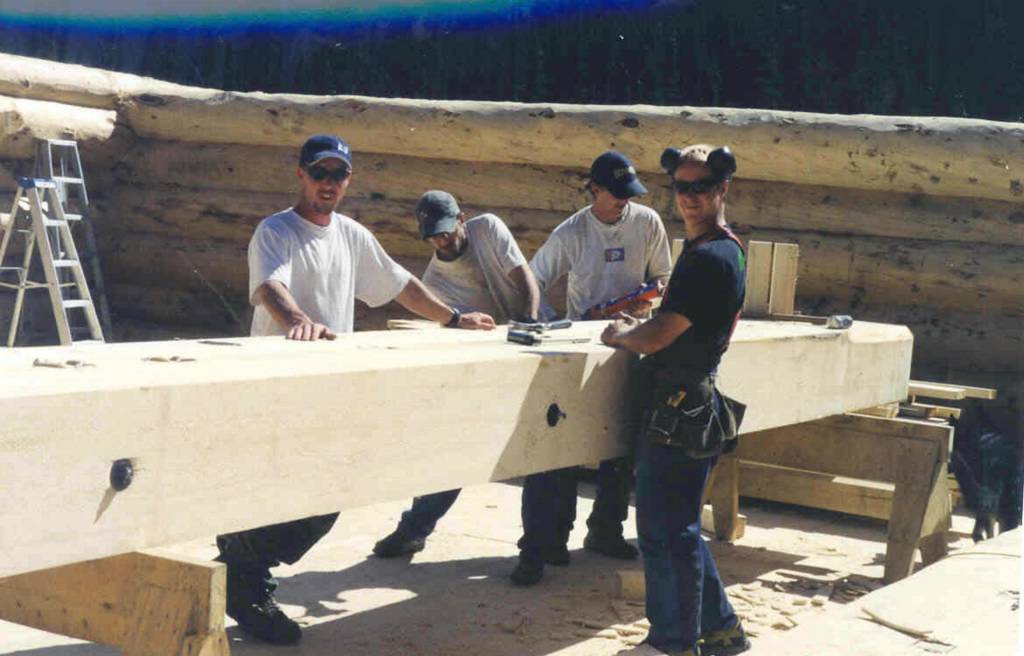
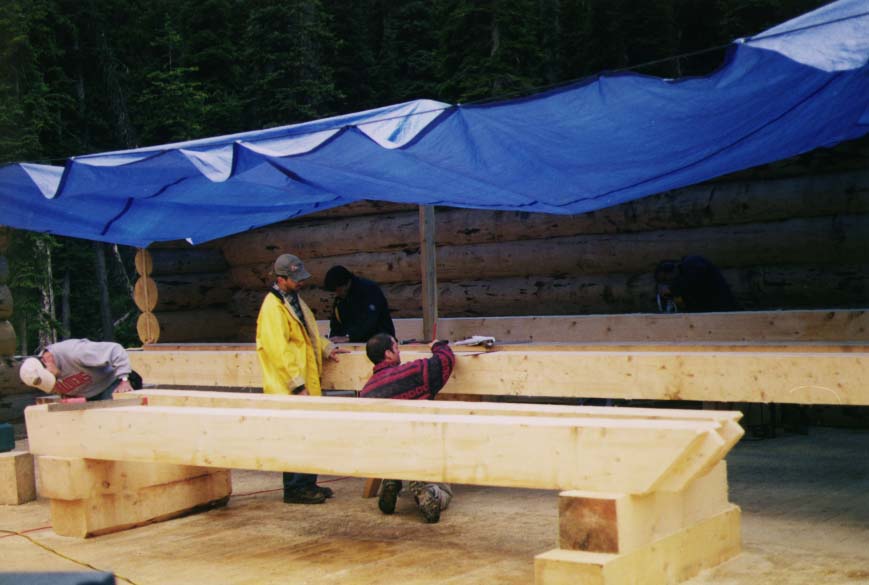
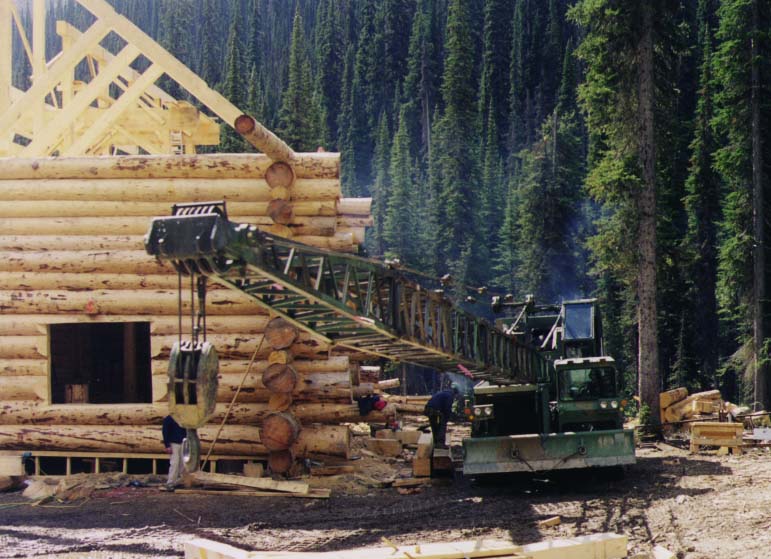
Christoph Loesch of Parson and his associates Sigi Liebmann of Golden and Zsolt Mozes of Parson visited Chatter Creek over a weekend and, between them and the Chatter Team, three large trusses were designed, constructed and erected into place.

Scroll down to view the progress of the roof construction. Click on photos to enlarge them and use the browser's "Back" button to return.


With the walls complete, posts to support the roof structure start to appear. Posts appear over the downstairs corridor walls. These will bear the roof load over the bedroom wing and allow for a hallway in the attic space.


With its 70 ft boom, the crane was the hero of the day. A platform was constructed to lift rafters and roofing steel into place in minutes. Workers could secure a rafter at the ridge and the crane would gently lower the platform along the roofline, allowing each long rafter to be drawn off and left in its proper place, ready for nailing. The sheet steel was distributed in the same way. It was very simple and very quick. Without the crane, the construction of the walls and the roof could not have been completed.


The Wood Mizer mill is running full-time cutting roof members.


Man-handling a beam into place.


Marking bedroom roof support posts for notches. Matching posts rise on the opposite side of the central hallways.

Wednesday, September 01, 2004


A pre-built post and beam are lifted onto the upper floor. This is the ridge pole for the bedroom wing. A second support post is yet to be attached.


Mark, Dave, Matt and Scott work on one of two ridge support beams for the bedroom roof. This beam spans the central corridors to support the post and ridge pole shown in the previous post.


The second ridge support beam for the bedroom roof. At 14in.x 28in. it looks more like a railway bridge support. This beam transfers the weight of the ridge pole to posts in the walls of the central corridors.


The ridge pole over the bedroom wing starts to take shape. The doorway will connect the dining area with the upper floor of bedrooms. The attic space above will house staff bedrooms and massage rooms.

The photograph is misleading. The ridge support post in the foreground rests on the log over the doorway. Directly behind is a support post of one of the two huge ridge support beams described in prior posts. The support post in the background is set on a stack of plywood shims that will be gradually removed over time, as the building dries and the log walls shrink


Building trusses in the rain. Work is just commensing on the weekend effort to design, build and erect three trusses to support the main roof. This task takes special skills and a great deal of experience. Christoph Loesch of Parson, Sigi Liebmann of Golden and Zsolt Mozes of Parson have provided their services to lead the effort.


Fitting a truss together. The large mallet comes in handy.


Cutting tenons with a big person's saw.


Chain saw cutter preparing mortices in the truss members.


The first truss is in place and Sigi Liebmann is there to complete the job.


The Swiss Spiderman! Sigi is up and down the upright trusses in a flash.


Sigi wields a little persuasion with a large mallet. Christoph Loesch, Sigi Liebmann and Zsolt Mozes make it all look easy.


Hoisting the second truss. Dan keeps the crane going and going and going. Without the crane, progress would grind to a halt.


Two trusses in place. Just one to go.


Roof truss details. Beautiful workmanship, especailly considering it was a weekend effort.


This interior view shows the rafters and the strapping in place under the completed roof. Black tarpaper covers the strapping to catch condensation that can form on the steel sheet on sunny days.


Over the dining room and kitchen, purlins lie across the trusses, ready to receive the rafters. Horizontal strapping will be placed over the rafters to hold the steel membrane. The roof over the rear wing will be completed first, to create a dry area for storing materials.


Sharp turns are not in order when moving a crane that measures almost 90 ft. end-to-end.


The crane makes easy work of many jobs. This gable end is constructed on the ground and lifted into place. Many hours of labour are saved.

The wall plates, purlins and beams are left long at both the front and rear of the building. Eventually, the roof will extend to protect balconies, external stairs and a hot tub at the rear of the building and an entry deck at the front of the building.


Fitting a pre-constructed gable end. As the crane holds the subassembley in place, the crew fits and attaches it.


Rafters are in over the bedrooms and one half of the gable end has been placed. Notice the ample crawl space that will house water purifiers and heat exchangers. Most of the building will be heated by air convection. Heat will be suppled by an external hahsa furnace.


The "lumber lift" with and without the carrying platform. The crane made easy work of lifting roofing materials into place. On the left is a lift of roofing material ready for delivery


The steel sheeting is completed over the bedroom wing before the rafters over the dining room are installed. At least part of the building is dry.


Rafters being placed over the dining room and kitchen. Traces of snow appear, but no big snowfall yet. It's a race against the approaching winter.


The roof is on, but not before the first snowfall. However, the job is done and interior finishing can start in earnest. It will take a while to shovel and scrape the ice from the dining room floor.

The roof overhangs at the rear and the front of the building will be left for another time.


The overhangs were completed in 2003, in the summer after the lodge was opened. On the left, the extended overhang is under construction. The main floor deck will support a hot tub, close to the bedrooms. On the right, the completed overhang protects the entry deck and front door.


Finally, the best picture we have of the completed roof on Vertebrae Lodge.

The new structure on the right is Solitude Lodge, under construction in the summer of 2004.

Back:                                              Next:
Mountain Lodge Construction             Vertebrae Lodge Interior